Zoom Mode
Mode Icon:

Mode Cursor:

Mode Function: Zoom
Supporting Functions:
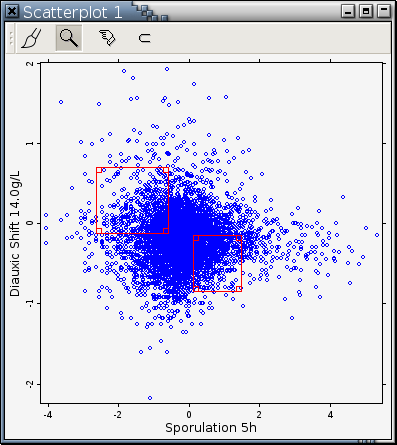
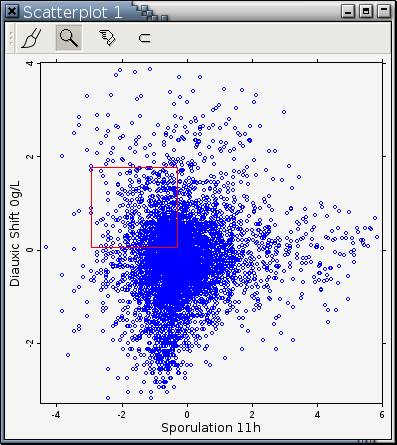
Zooming is one way to get a better look at a portion of the data in a viewport. There are two types of zooming: geometric zooming and logical zooming. Geometric zooming produces a blown up version of the region in which each pixel in the source image is represented by a small square of the same color. Logical zooming produces a plot based on the actual observations in a source region. As a result, more details can be revealed. Let's take a look at some examples. Suppose Figure 9-4 is a viewport and you would like to zoom into the area bounded by the blue rectangle.
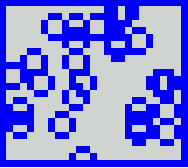
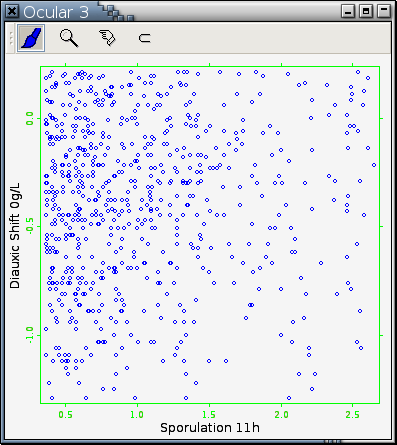
Panel A of Figure 9-5 is the result of geometric zooming. Panel B of Figure 9-5 is the result of logical zooming.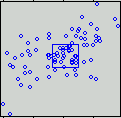
 |
|
A zoom lens has 2 components: objective and ocular. To zoom into an area, conceptually, you first aim the objective of a zoom lens at the target area and then the corresponding ocular of the zoom lens will pop up. In physical terms, to carry out a logical zooming operation, move the mode cursor to the place that will be one corner or one side of the target area, depending on whether this viewport is based on 2 or 1 variable, press the left mouse button, and drag the target area into shape.
| You can abort a zoom operation by clicking the right mouse button. |
Let's see some examples. Figure 9-6 is a viewport aimed at by 2 zoom lenses.
One zoom lens has a red objective rim and its ocular is Panel A of Figure 9-7; the other zoom lens has a green objective rim and its ocular is Panel B of Figure 9-7.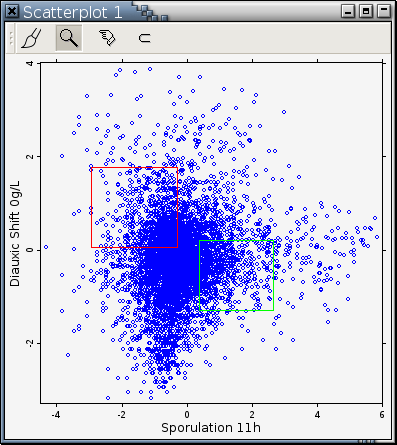

|
|
Figure 9-8. The viewport after the ocular with green objective rim was zapped
---> images/source-with-one-lens.png <---
All oculars are registered under their target viewports in the scenegraph. For example, the following scenegraph snapshot
tells you that there are 2 zoom lenses aimed at "Scatterplot 1", "Ocular 3" is zoomed into to produce "Ocular 4", which is zoomed into again to produce "Ocular 5".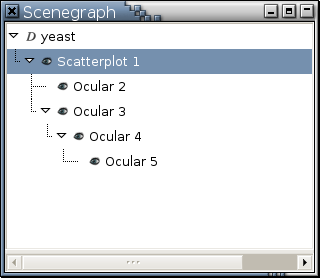
In addition to left mouse button operation to carry out a logical zooming operation,
Shift + Left inside of an objective rim to move it around. This is a shortcut for invoking "Move Objective Target Area...".
Ctrl + Left inside of an objective rim to resize it. This is a shortcut for invoking "Size Objective Target Area..."
Alt + Left inside of an objective rim to delete it.
Supporting Functions
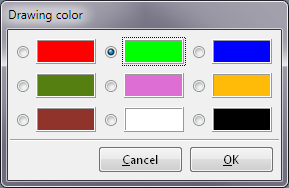
- Set Objective Rim Color...
Selecting this menu entry will generate the following menu:
You change the color of an objective rim so that you can tell which objective is associated with which ocular.- Move Objective Target Area...
Selecting this menu entry will turn the cursor into
 and objective rims in the viewport will be redraw
with dashes (e.g., Figure 9-9).
Press the left mouse button
inside of an objective rim
and drag it to a new location.
and objective rims in the viewport will be redraw
with dashes (e.g., Figure 9-9).
Press the left mouse button
inside of an objective rim
and drag it to a new location.
You can abort by clicking the right mouse button while dragging an objective rim. If you click the left mouse button outside of any objective rim, this operation is aborted, too.
- Size Objective Target Area...
You invoke this to change the magnification factor. Selecting this menu entry will turn the cursor into
and little cue boxes will be drawn at each corner
of an objective rim, if the objective rim is big
enough (e.g., Figure 9-10).
Press the left mouse button
inside of an objective rim
and drag the objective rim into the size you want.
You don't have to press inside of the little cue boxes;
they just serve as visual feedback.
You can abort by clicking the right mouse button while dragging to specify a rectangle. If you click the left mouse button outside of any objective rim, this operation is aborted, too.